Sculpting and Casting a Resin Statue
Using Sculpey, Armature Wire, Acid‑Etched Brass and Rubber Molds
Chapter 8: Sculpting the Hair — Twice
From the previous chapter:
My plan was to submerge the head in rubber and gently cut and tear the rubber to release the master and, ultimately, the cast resin.
Nothing like a free-spirited artist who adds details that are a curse to a modeler
Hair. Hair and I argued and split up years ago so hair is a mystery to me. I love how the Japanese manga and anime subject sculptors attack the problem. You cannot sculpt every strand; you can try! But you will be frustrated. If this were another medium, it might be possible to work in hard wax and use texturing tools to give the look of hair at that scale, but surely madness would breathe down one’s neck!
So I am contemplating the double task of sculpting and how to mold at the same time. I started off by thinking I could do the front and the back in two pieces.
At this point, I couldn't see how far off it looked and that it wouldn't fit together without a lot of filling and sanding. Sanding in there would be a lot of trouble. But I pressed on.
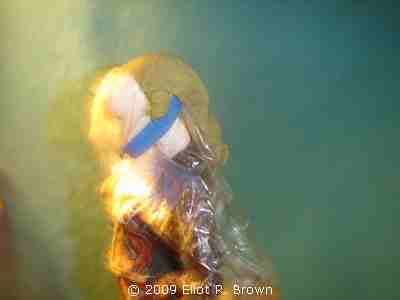
I had started just before I cast the head, but quickly switched to the resin head. On the right, you can see that I started the rear hair with a big blob of Milliput and a short length of kinked armature wire for support and guidance.
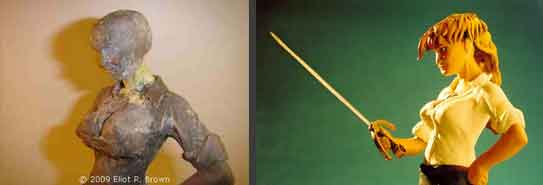
Philo’s depiction of her hair was thick and flowing, two ideas I personally have little experience with!

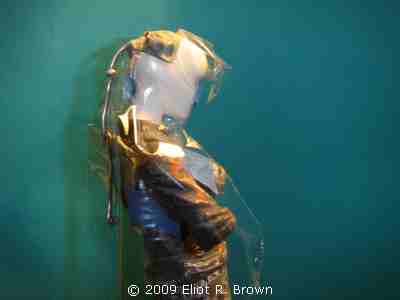
Of note is using good old Saran Wrap as a barrier while I worked. What is not so obvious is that, try as I might, it just did not have the heft and mass of hair. This was quite valuable, fussy sculpting time. But after all that, it just looked like a plate of scungili!
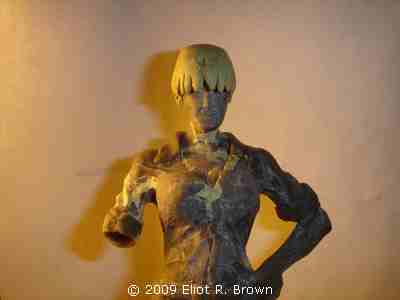
You can just make out the separation between front and back plus the very unsatisfying “ear” shaped things. But, what felt good at this point was a “starfish” shaped piece of hair that I'd shaped and plopped on top of her head. That started me thinking.
I confess, that I was in such an irritated rush that I failed to photograph most of this sculpting process.
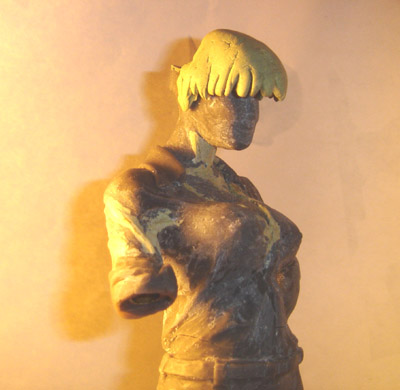
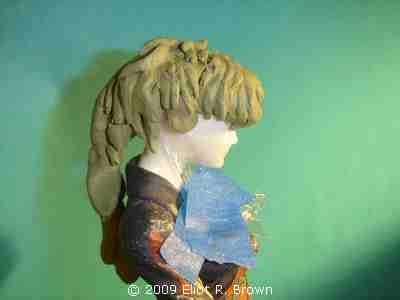
Here is the final hair. You can see the thoroughly cured long piece to the rear, which still needs carving. The big industrial dry-mop covers most of her head. What is less visible is the little flip of hair “tendril” that Philo put into her hair design. You can just make out a small piece of blue masking tape holding it to the front of her bangs.
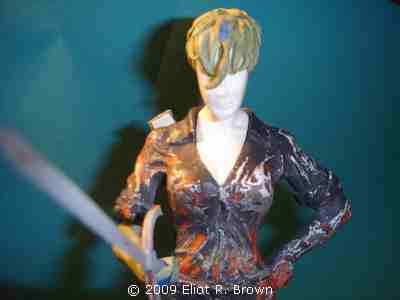
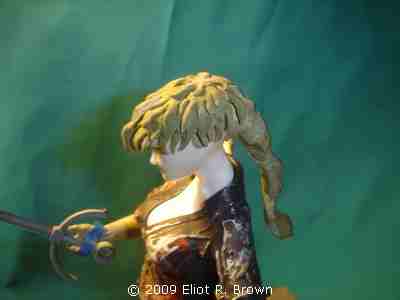
You CAN put your eye out! But her hair looks fabulous! The look of the body is from using two shades of primer and spot puttying here and there. You can also make out the sword sheath peeking out from behind her shoulder. This explains the extra large gap between her hair and back, seen in pictures just above. It was at this point that Philo allowed me to dispense with it. I did have to re-angle the hair to "fall" where the sheath had been. In this picture, you can see the hair tendril with attendant tape. That is the “curse” I mentioned. I believe I mentioned earlier (for those brave enough to get this far!) that even Philo has regretted making that hair tendril!
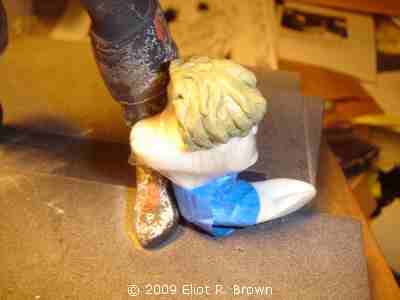
The top hair piece was made from two layers of Milliput. On the first larger one, I cut small Vs out all along the edge and then sculpted in, rounding and twisting them like hair. On top I placed the smaller one that looked like she had a starfish on her head! I had to make sure that I could remove ad it took two hours to cure, I kept sliding it on and off so that the hair would be pushed aside just so.