How I Modeled The Knight Bus from Harry Potter and The Prisoner Of Azkeban
Using Wood Carving, Vacuum Forming, Plastic Shaping, Painting, Special Building Jigs, Model‑Making and Custom Appliques
Chapter 7: Preparing the Bodies for the Radio Controlled Chassis
From the previous chapter:
Each forming shot was fairly tedious, requiring that the pattern be assembled, formed over, “indented” and taken apart each time.
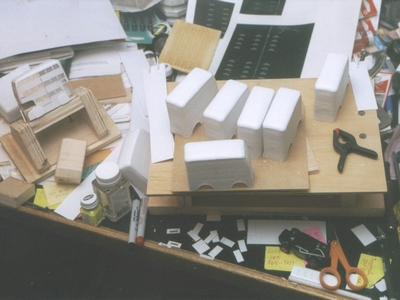
I prepared all the bodies so they would fit the Radio Controlled (r/c) chassis.
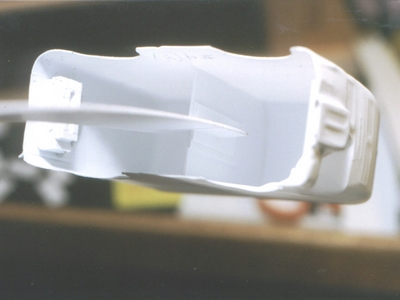
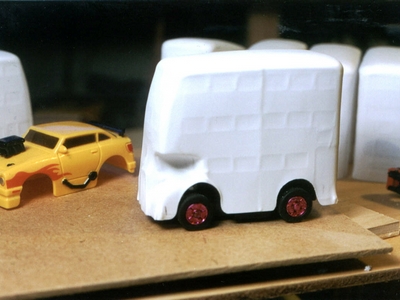
Here is a close-up, above, of the interior bracing that also provided a way to hold up the body for priming and doing the body color. By cutting a slot into the long piece of plastic, I could manipulate the body without touching it.
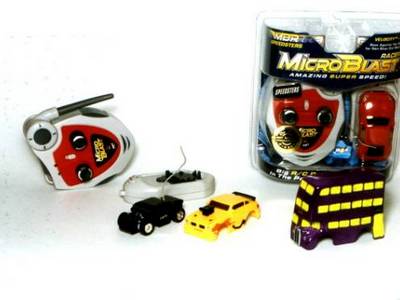
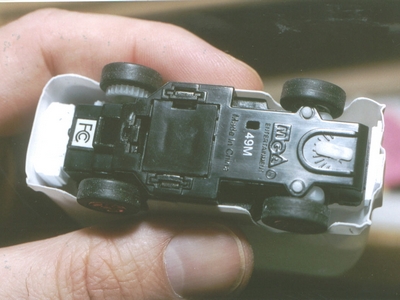
This is what the “Micro Blast” r/c toy looked like: it came with a nice controller and a recharging platform. You get about 30-40 seconds of hard-driving around and then park it on the charger for a very quick charge and you’re ready to go again. Neat. Also in this shot, is the finished Knight Bus body.
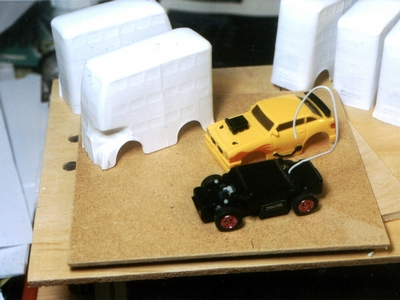
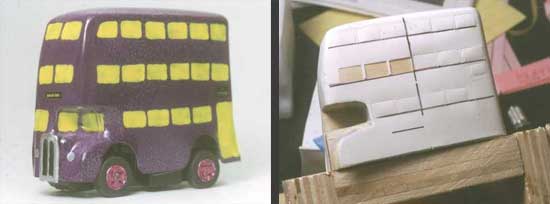
It is a shot like this one, above, that reminds me that I really did finish something. This was great progress. The car body that came with the r/c “guts” popped right off and my little effort
popped right on! Very exciting at this point.
These are quite excellent little devices — they do it all! Steer, go backwards — their only slight drawback is that they only have one speed. Crazy fast! However, perfect for Harry Potter's Knight Bus! You can see below that there are small blocks added to attach the body to the car chassis.