How I Modeled The Knight Bus from Harry Potter and The Prisoner Of Azkeban
Using Wood Carving, Vacuum Forming, Plastic Shaping, Painting, Special Building Jigs, Model‑Making and Custom Appliques
Chapter 6: Vacuum Forming the Fleet
From the previous chapter:
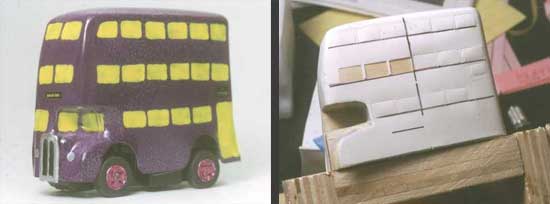
I created a tool in the shape of the indentation out of epoxy putty. I would use this tool to poke into the indentation during the crucial seconds the plastic is forming.
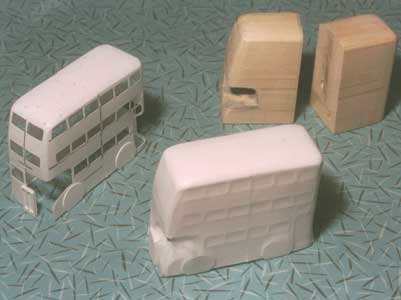
Above, you can see the pieces all taken apart. You can spot the front grille work — simply applied to the “outline” form. That shape should easily receive some black paint. I was looking for “easy” in most of this project!
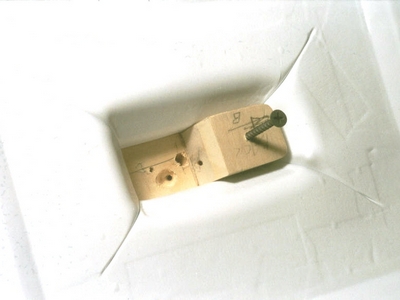
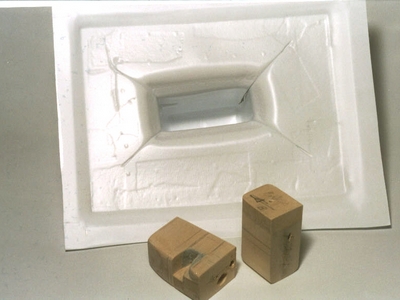
This is what taking apart the two-part pattern looks like. On the top photo you can see that the back half is partially pulled out by the screw — it was a tough pull.
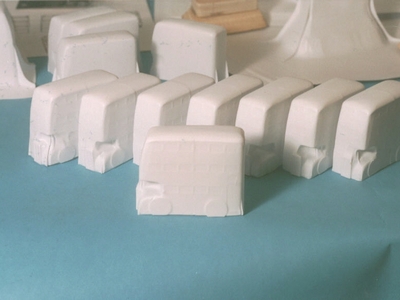
Each forming shot was fairly tedious, requiring that the pattern be assembled, formed over, “indented” and taken apart each time. It added quite a lot of time to what is normally a very quick process. I must admit this is a bit further than I get with most of my kooky projects, so here is the fleet!

Here is a wider shot, showing all the pieces and parts up to this point.
Next — Chapter 7: Preparing the Bodies for the Radio Controlled Chassis