How I Modeled The Knight Bus from Harry Potter and The Prisoner Of Azkeban
Using Wood Carving, Vacuum Forming, Plastic Shaping, Painting, Special Building Jigs, Model‑Making and Custom Appliques
Chapter 1: Sketching and Planning
From the Introduction:
Hmmm — the cheap r/c car body just popped right off the little r/c car. I did run a vacuum forming company after all... I was looking for interesting subjects...
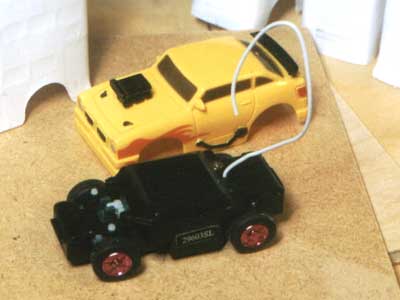
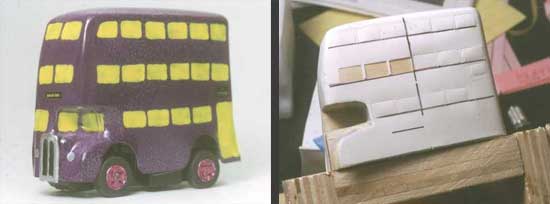
I bought one of the radio-controlled (r/c) cars for study. Sketch time. After collecting every image of the Knight Bus off of the internet — which wasn't much at the time, about 2004 — I figured out it would work. With a little fudging here and there — no interiors or solid window detail; painted windows using florescent paint; few surface details — yes, I could live with all of these.
The starting point was the unchangeable wheel base of the r/c toy I had bought. I used Photoshop to stretch an oblique side-shot of the bus to line up the r/c toy's wheel base with the wheels of the Knight Bus photos.
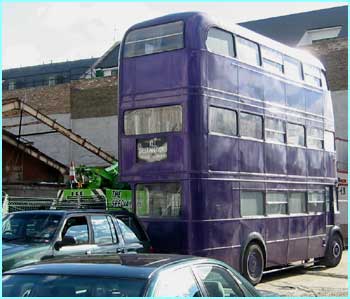
Before (this image grabbed from a Harry Potter fan site)
After some Photoshop stretching.
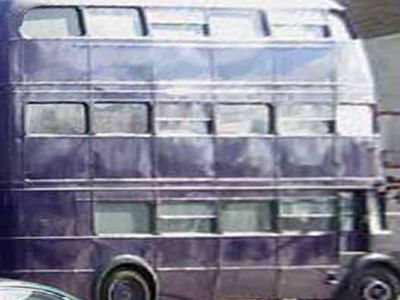
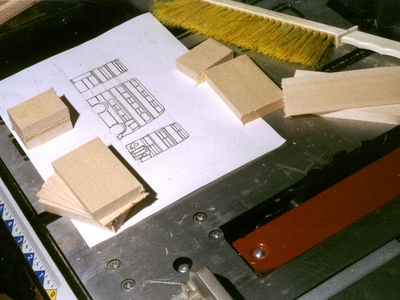
From this picture, I pulled enough proportions out of the photograph to sketch the distinctive window pattern of the bus profile.
Next — Chapter 2: Carving the Pattern To Be Vacuum Formed Out of Wood