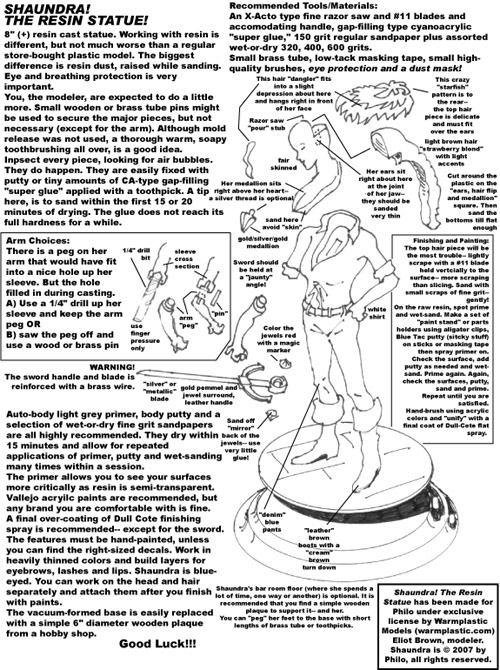
Sculpting and Casting a Resin Statue
Using Sculpey, Armature Wire, Acid‑Etched Brass and Rubber Molds
Chapter 10: Rubber Mold Making, Casting and Production
From the previous chapter:
Working up through the sandpaper grades is what takes time. Each time it looks good, you dry it off, put on some more primer and inspect under a bright light.
Mold making and casting is the ultimate thrill for me. It’s nice to make the things, fret over details and how to break the master items apart for molding. Finishing can be funif nothing crumbles on you! But getting a good mold which, in turn, will usually guarantee a good cast pieceis the high’ for me.
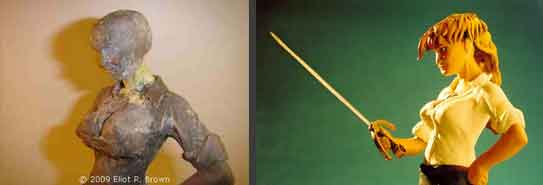
The most fun, then, is to get the body right.
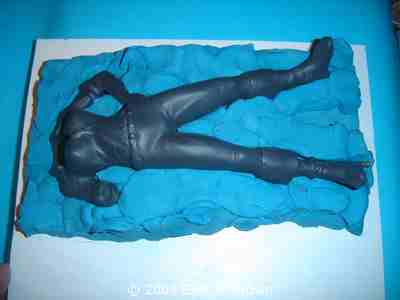
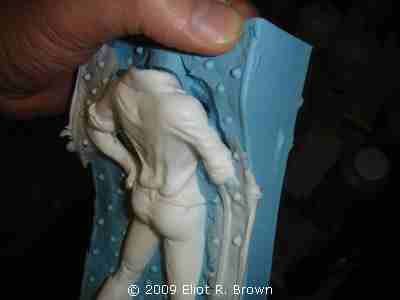
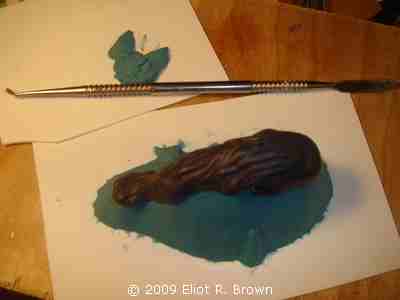
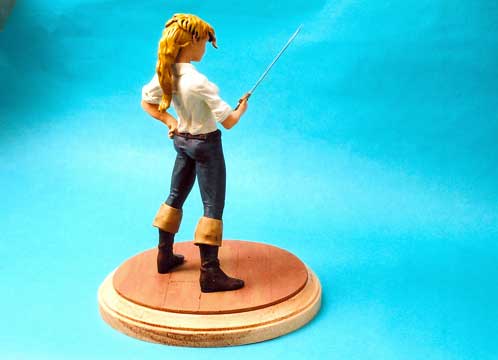
This is a good look at the finely finished surface. Note it is slightly tilted to what will eventually be “vertical.” I intend to have both boot heels be open, one for pouring and the other as a vent. I think the sword arm will need a vent too.
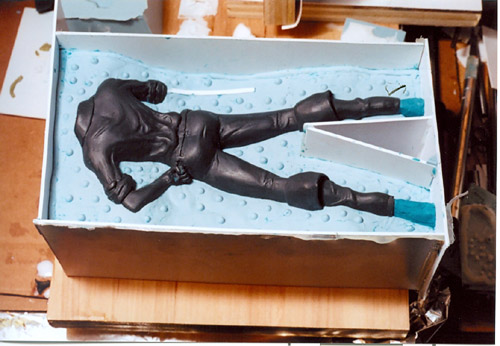
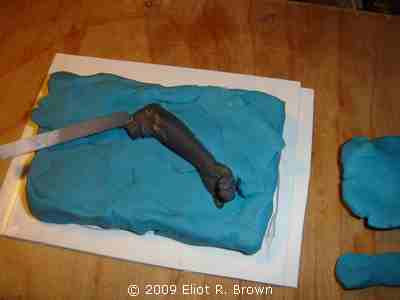
Here is the built-up mold box. I chopped a V out between her legs because I was worried about having enough mold rubber. Yes, it sometimes comes down to that. This side of the first half of the mold shows that I picked a mid-line running completely around every side and inside of the pattern. This is also sculpting; the best results are achieved by having the clay hit a perfect right angle from the surface. Note also that the surface has a curve to it that follows Shaundra’s stance in profile. See also the clay used as a pour stub and vent in the boot heels as well as the beginning of a vent from the sword armthe rest can be carved out of the rubber later.
I applied two thin coats of rubber-to-rubber mold release.
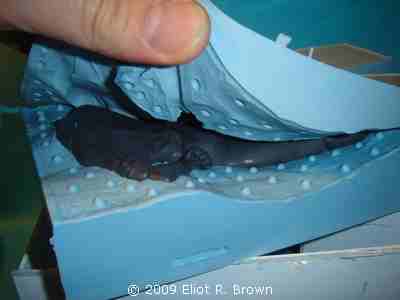
The first peek was the start of the “high!”
First cast! Reveals a little too much flash near the sides. I will eventually evolve an elaborate series of pieces of wood and large rubber bands that will apply an even pressure to both sides.
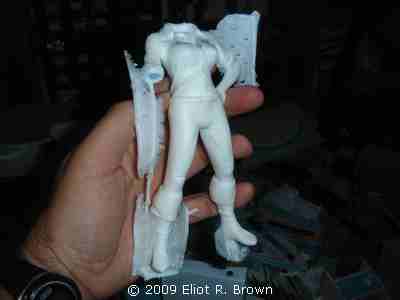
The toes, the shirt collars, the boot flapsall look good. There’s that durned little button of rubber in the sword arm! Oh well but still having a good time!
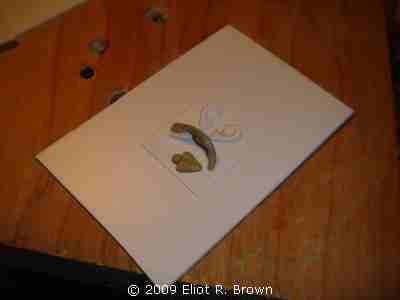
I worried about the hair pieces, They were too odd looking, I could not quickly see any way to run pour stubs in or vents out. I took quite a while making little doodles and trying to think my way through it. Here’s the final sketch that allowed me to see it:
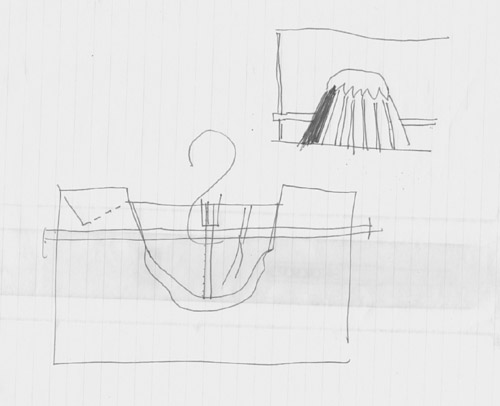
At top I first thought I would need to carve vent holes all along the sides so that each “hair tendril” would require finishing. Not a good solution. Then it hit me; below the idea of pushing one half into a cup-like open mold, with the resin squishing out around it. There are several things in this sketch that were unnecessary. The brass rods, a central vent from the “inside” of the piece and that little dotted line which was to be a drain for the excess resin. The S-shape was a piece of wire which would allow one to pull the central plug outthat was a good idea.

Again this is as much sculpting as making the master!
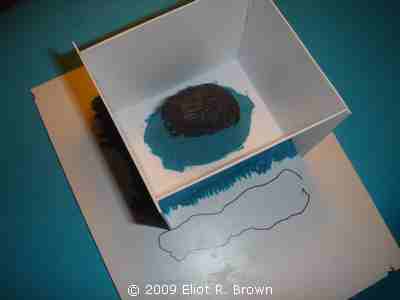
Mold box, this time tacked together with gap-filling super glue and sealed with clay.
Note here the building of a key shape on the side. Again, this is to eliminate fumbling when seconds may count.
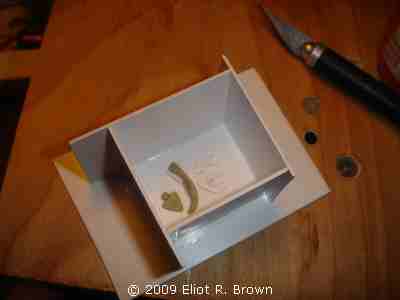
Shaundra’s mystic amulet, ears and kooky hair tendril. Worth commenting on is the use of a small little “pour step,” I find these useful when pouring resin into small shapes. The hair arches inside the rubber and the pattern will have to be neatly cut free of the rubber. This will allow subsequent casts to be pulled free.
This mold box I just glued together. It was too small for any subtlety.
The start of the arm. This was a head-scratcher. The pour stub was easy to see, but almost anything I would add as a vent, to the thumb or the fingers, would make finishing those parts a nightmare. So I decided to let the thumb take its chances. The fingers needed help.
I applied a thin vent to the fingertips. I thought I would be using the mold box to hold the mold halves together, so I keyed them to the rubber. It seemed like cheap insurance at this point, better to have it and not need it.
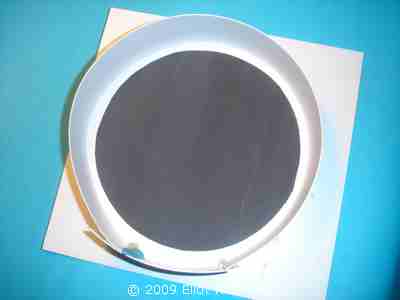
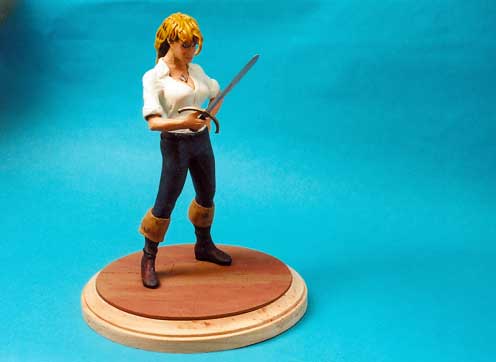
I made a wooden“bar room floor” for Shaundra to stand on. Here is that mold box.
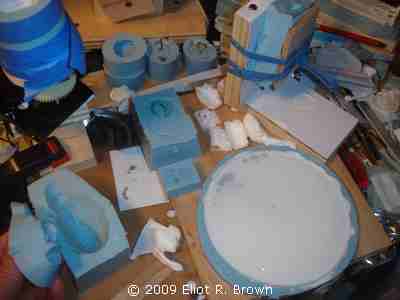
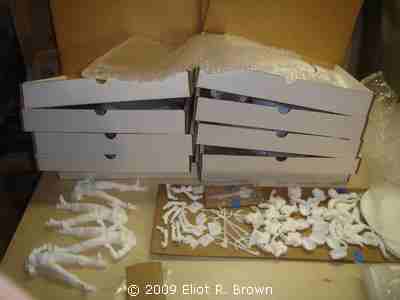
Here are all the molds (plus some from other projectsI work under cramped conditions ) and some first casts.
This was one of the quickest and most satisfying builds, molding and casts. I think it took an entire afternoon, which included the 4 hour RTV cure time!
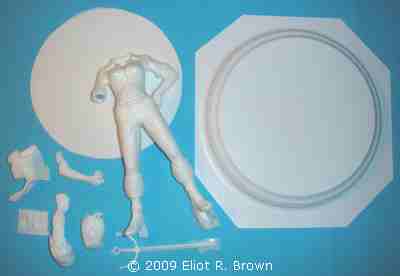
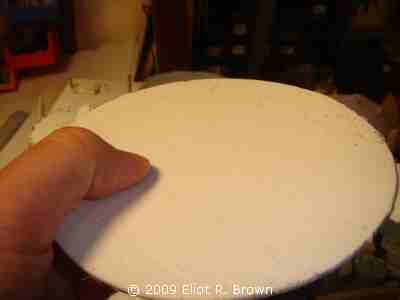
Back to the image from the beginning. Now you know how all these pieces were madeexcept the big base. That was vacuum formed over a simple wooden base or plaquefrom Michael’s Craftsany similar wooden base would do. I used it to fashion the bar room floor, so I know it will fit.
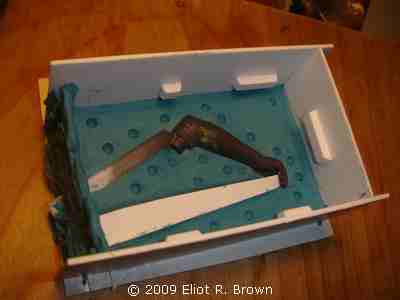
Full production! I was contracted to make 10 kits for sale and that’s what I did.
I needed to figure out complete packaging. Fortunately, I have an assortment of boxes, small plastic bags and bubble wrap on hand. So I did not have to work very hard to figure that out or order something specific to the work. I also spent some time making up an assembly guide. I have noted that many garage kit instructions are shockingly brief or vague. Sometimes you get nothing at all! I tried to include each step and a parts location guide with some paint suggestions. I basically tried to think out what info was necessary and did a drawing. That was scanned in to the computer and imported into Illustrator, where I added all the type and pointers.
Yes, I can draw and that helps, but even a guide with pictures would have done the job. It just would be a little harder for the pieces to float!
This article and its photographs, unless otherwise noted, are © Eliot R. Brown and The Kingston Vacuum Works.